Using one of my concept sketches on an image plane, I have started modelling the house in Maya. To create the basic structure, I created polygon cubes and other shapes (using create polygon tool) and simply stacked them inside and on the face of the main section of the house. Each 'extension' of the house was made by using the create polygon tool to go over the lines in my original sketch and were then extruded.


For most additions to the structure, I started off with a basic polygon cube and then extract the faces into the shapes I wanted.


The log pile was created by taking a cylindrical polygon shape and then manipulating some of the vertices and edges to give them an uneven surface. There are 2 differently shaped logs, which I then duplicated and transformed to make a pile that appears to be made up of different logs.

I wanted to try and give most of the objects in the scene are warped appearance, and reflect the style in my drawings as well. I like the idea that 3D objects should still retain the character of the 2D concepts. So when modelling the chimney I made sure it had a lot of angles and was asymmetrical.

I have made my white picket fence by starting of with 1 basic panel and then creating 3 variations of it by altering some of the vertices. I created a small group of the panels in a line, and then duplicated around the house to create the entire fence. I've also used the same panel model to create the gate, just by altering the shape slighty.

The wooden beams are made up of cubes that have been extruded around the outside of the house base.

The chest is an additional prop that I want to place in the scene. I had a look at some images of chests and sketched a couple of doodles on paper. When I had a decent idea of the shape I wanted, I used the create polygon tool to make the front faces of the chest and then extruded it to make the basic shape. I used Bevel on the edges to make them a little less harsh. To make the edging, I squashed a circular plane into a sort of softened rectangular shape and then extruded this around the edges of the chest. I modelled the lock panel using an image plane of a quick digital sketch I made, and went over it with the create polygon tool.
The 'paws' are modelled from a cylinder, which I extruded and resized at different points to create the arch at the top and the round base section. The toes were made by extruding the faces on the front of the base and once again manipulating the vertices and edges to get the right shape. The claws are simply cones which I bent into curls and inserted into the toes, they were then merged.
The 'paws' are modelled from a cylinder, which I extruded and resized at different points to create the arch at the top and the round base section. The toes were made by extruding the faces on the front of the base and once again manipulating the vertices and edges to get the right shape. The claws are simply cones which I bent into curls and inserted into the toes, they were then merged.

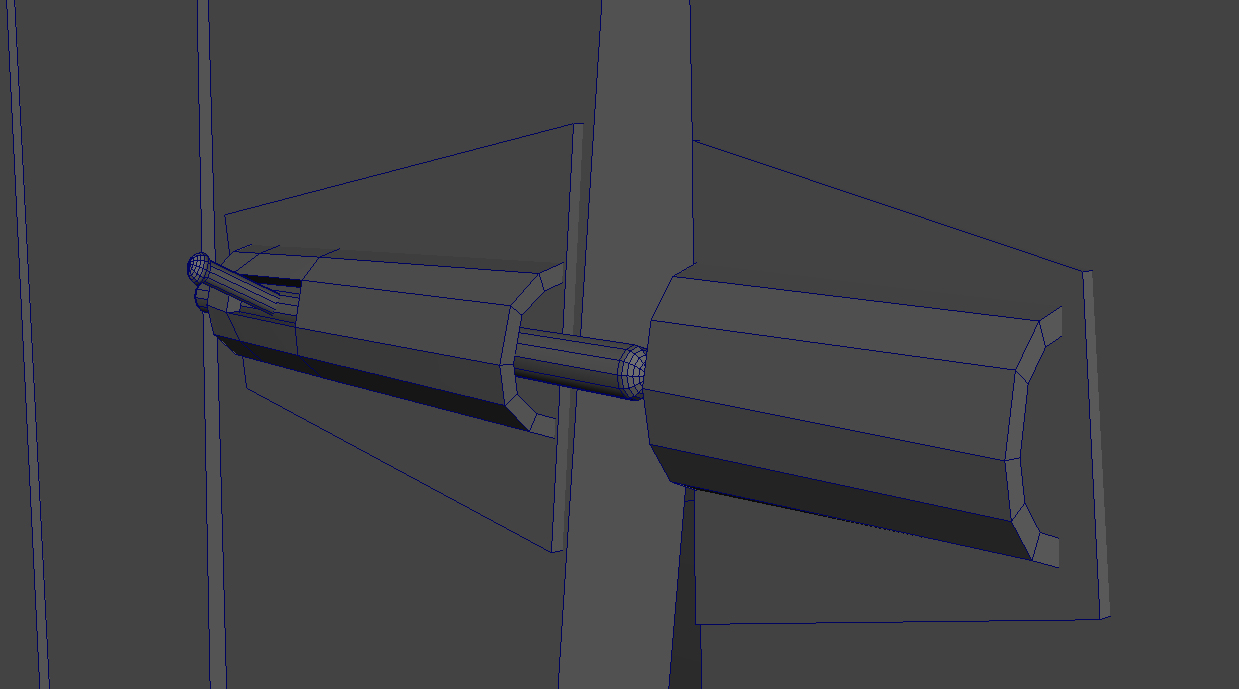
I created some extra details on the gate, like the hinges and this lock by using the create polygon tool and the extrude tool, as well as using the basic polygon shapes for parts like the bolt in the lock.

These mushrooms were made by manipulating cylinders and spheres. After I made the first one, I just duplicated it and then altered the angle of the top section and the scale of each one for variety.